
Congrats…you have your first fountain pen!
Maybe you read our Top 10 Fountain Pens for Beginners blog and picked out a special starter pen.
You then filled it with our handy How to Fill a Fountain Pen guide, and you’ve been writing amazing pieces ever since. But now…a daunting task approaches. It’s time for spring cleaning.
Yes, even fountain pens must be cleaned every once in a while. But when?
- You probably need to clean your pen about every other time you change the cartridge or the ink in the converter.
- If you’re changing ink colors, now’s the time!
- It may be time to clean, too, if your pen doesn't "start" right away; you’ve probably got some dried ink hidden away on the inside. If a little bit of water on the nib doesn’t get it going, it probably needs a deeper wash.
- It’s good to get in the habit of cleaning those pens that you won’t be using for a while, too – always give them a thorough cleaning before storing them away.
If this task feels overwhelming, it’s actually super easy! Just follow our 5-step guide below, and you’ll be writing with a perfectly clean pen in no time.
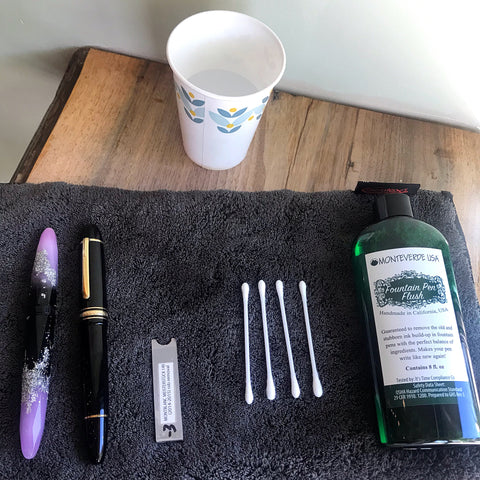
Needs List: pens to be cleaned, nib removal tool (for a real, deep clean), Q-tips, small cup of cool water, fountain pen flush; optional: silver polish
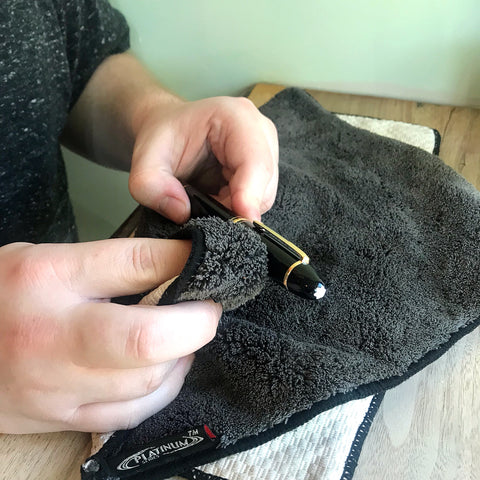
1. Start with a quick dusting!
Yes, we’re cleaning the insides of our pen, but we usually like to take this time to dust off the outside of the pen, too, to make sure the full piece is in the best condition it can be. We like to use a polishing cloth like the one pictured here from Platinum (not the pen brand) to get all the excess dust off.
2. Let’s check things out and give it a flush!
Now that we’re ready to officially start, let’s take that pen and get all the ink out. If you have a piston filled pen, and there is ink in it, simply expel the ink, and then suck up some cool water from a small cup and push it back out. Do this several times. You can also use your sink directly for a larger amount of water, or a syringe for a more precise amount of water. I do recommend using a stainless steel sink as some inks can stain porcelain.

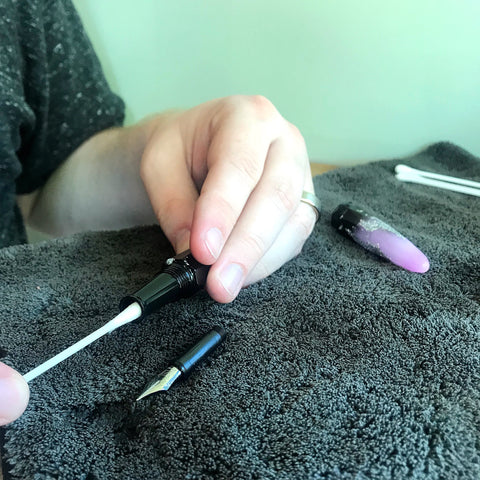
3. Now, a deeper flush!
For the best results, we also recommend using a pen flush after using the plain water to help remove not just the ink, but the extra “gunk” (particularly on the underside of the nib) that plain water may not clean out. One of our favorite brands is the flush pictured here from Monteverde USA – its combination of ammonium hydroxide and other ingredients seems to be the perfect balance. You’ll want create your own mixture of mostly water and just a little bit of flush. This helps you to not use too much flush too quickly. Continue sucking it up until the water runs clear. You can do a final water-only rinse or two after you’re done to get all the special flushing product out.
Note: For pens that are extremely dirty, we recommend that you leave your pen submerged overnight for the best results.
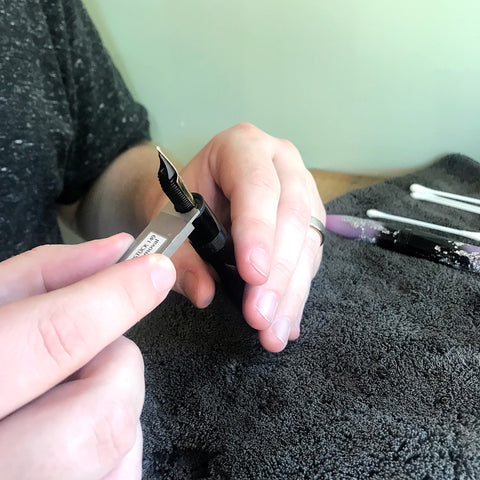
4. More deconstruction!
5. A final polish!
If you have some silver polish, this is a great time to get a final shine on your pen. Just use a little bit on a cloth, and be sure to rub it everywhere so it coats it all. Then, more aggressively, tackle the resin parts with the polish, but NOT the gold – or else you could peel off the plating!
See, that wasn’t so bad after all! You now know all about how to get that sparkly, shiny, and new looking fountain pen. Don’t forget that once your pen is nice and clean, you should always store it vertically in a cup or display stand with the nib pointing upwards to keep it in its best condition possible.
Now, if you’re more of a visual learner and need to see this whole process played out, check out this super-quick, no-fluff instructional video on the cleaning process.
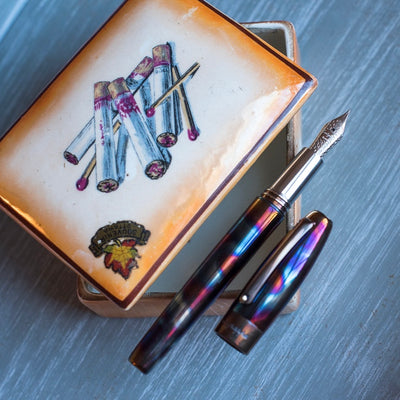
For those of you that want to skip cleaning (shame on you!), we have another option: buy a new pen!
Yes, if you decide you have a pen that’s too far gone to clean, or you just want to treat yourself to something brand new instead, you know we can help you with that, too! Just visit our New Arrivals section to see some of the best new additions from brands such as LAMY, Monteverde, and Montegrappa.
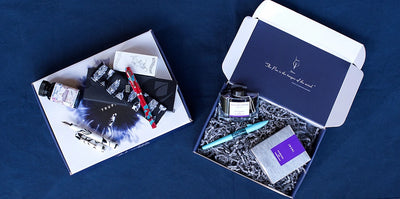
Or visit our Inkredible Box pages to have us surprise you each month with a brand new pen & ink combo!
We can’t wait to work with you!


Leave a comment